2020. 3. 1. 20:11ㆍ카테고리 없음
The Alpha palette contains a variety of grayscale images known as Alphas. These images look like nautical depth soundings used to map the ocean floor — nearer portions are lighter, more distant portions are darker.When used with painting tools, Alphas determine the shape of the brush being used.When used with 3D objects, Alphas can be used to sculpt the objects in unique ways, or as displacement maps.You can add Alphas to this palette by importing images from disk files, or by grabbing depth information from the canvas (using the MRGBZGrabber Tool). You can export any Alpha as an image file, in a variety of formats.Unlike standard 8-bit grayscale images which contain 256 gray levels, ZBrush-generated Alphas are 16-bit images which contain over 65,000 gray levels.Alphas can also be converted to Stencils, Textures, or even 3D meshes. They can also be modified using the Alpha Adjust curve. Important!For best results, image files should be flattened 16 bit grayscale, saved without compression. In Photoshop, if saving PSD format, makes sure that Disable Compression of PSD and PSB Files is checked under EditPreferencesFile Handling. If saving as TIFF, make sure NONE is selected for Image Compression in the TIFF Options dialog that appears prior to saving the file.

ExportThe Export button saves the current Alpha to an image file in a variety of file formats. Alphas created within ZBrush will be 16 bit or 8 bit depending on how they were created. Ep (Export processed Alpha)If pressed, then any alpha that is exported will include the modifications made to it by the AlphaAdjust curve. (This is the same as the alpha that appears in the large thumbnail preview.) If not pressed, then any exported alpha will have its ‘original’ appearance, without modification by AlphaAdjust.
Alpha selection sliderUse the Alpha selection slider to select any item in this palette by number. R (Restore Configuration)As alphas are selected, they will be added to the “recently used” set of thumbnails that appears in the Alpha palette. In time, this may cause the palette to grow too large.

Pressing R resets the recently used section of the palette to display the original number of thumbnails. Current Alpha and recently selected AlphasAlphas can be selected from either the Alpha palette, or the large Alpha thumbnail on the left of the ZBrush canvas. In either case, click on the large thumbnail to bring up the full selection of alphas.
Within the palette, you can also click one of the small thumbnails that show recently used alphas, to select it.The inventory of alphas works the same as others in ZBrush, such as those in the Tool and Material palettes. The active alpha is grayed out to indicate that it is already selected. On the top left, the current selected Alpha. On the right and bottom, previously selected Alphas.Note: In the Alpha Palette, click one of the small thumbnails and then select an alpha from the resulting popup of the alpha inventory, to have the selected alpha replace the clicked thumbnail, rather than be added to the list of recently used alphas.To see the name, size, and bit depth of an alpha, hover the mouse over its thumbnail. Flip HFlips the alpha left-to-right, making it a mirror-image of itself. Flip VFlips the alpha top-to-bottom, making it a mirror-image of itself.
RotateRotates the alpha by 90 degrees clockwise. Height and width remain the same, so if the Alpha is not square, it is stretched to fit the current width and height values. InverseProduces an inverse of the alpha so that white becomes black, darker grays become lighter, and vice-versa. SurfaceThe Surface button mode automatically defines the best middle gray value for your alpha. It allows you to add details from the alpha to your sculpt without destroying details already on the surface.
SeamlessWith the Seamless slider ZBrush will transform the selected alpha to a seamless pattern. A high value will make large changes to the alpha to make it seamless while a low value will make minor changes.You may need to increase or decrease this value depending on the complexity of your alpha. Most alphas require a unique setting for best results.Alpha palette sub-palettes.
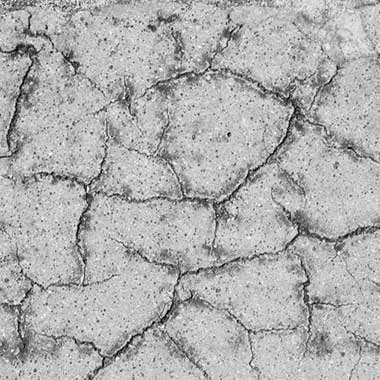
Zbrush Rock Alpha
Alpha.
Zbrush Rock Alpha Map
Eight custom ZBrush Drag brushes created by Michael Dunnam. The full collection of 125 Drag and Stroke brushes can be downloaded for free from his website, and has now be converted for use in 3D-Coat.Artist has released 125 free custom ZBrush brushes created for use in his sculpting work.The brushes are organised by type (Stroke, Drag, clothing, terrain, technological, skin, natural textures), and can be downloaded individually, or in themed sets.Each ZBrush ZBP file comes with an accompanying PSD showing the hi-res alpha image used to create it. All the files are packed up as RAR archives, so you’ll need a tool like capable of unpacking them.The brushes have been getting a lot of attention since the first set were released last month: our excuse for being late to the party is that has just converted them into PenPacks for use in 3D-Coat.Kudos to both of them for providing a fantastic free resource.Updated 30 June 2017: You can now download Michael Dunnam’s free resources from his Gumroad page. There are currently 196 free ZBrush brushes and over 150 free 3D-Coat brushes available.